
My Notion Tour
- Nhelmar Atienza
- Jan 19, 2022
- 6 min read
It's been a long time since I last did a blog and for this blog, I will share with you how I organize my entire life using only one app which is the Notion app.
For those who don't know what is this app about, Notion is an all-in-one workspace for your notes, tasks, wikis, and databases. It's essentially a tool for organizing your thoughts, projects, and data. For me, that meant anything that would allow me to track projects or tasks with greater flexibility. This flexibility can use to customize your Notion according to your preference.
DISCLAIMER: This blog is a long blog so bear with me and I hope that you'll still be reading it t'ill the end. Thank you!
Let's start with my dashboard. My dashboard contains almost all of the links that you may find through all my sub-pages of this app. For you to have a quick look at my dashboard, here it is.


Dashboard's Cover Photo
The first thing you'll see in my dashboard is my cover photo which is the only cover photo I have here. I used canva.com to make a cover photo. Canva is an app where you can edit text, photos, and more where you can also customize it to whatever you prefer.
To change the cover, just click the change cover in the lower right of the cover photo and there you can change it depending on what you want.
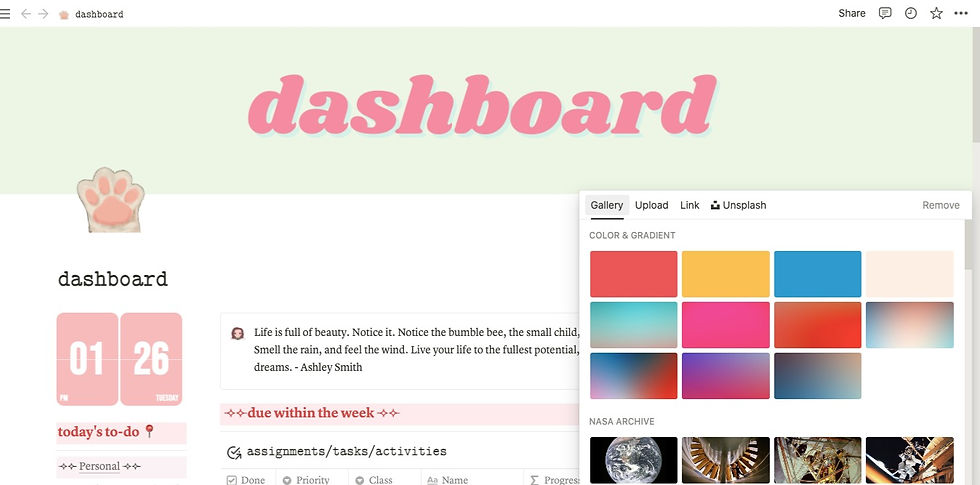
You can change it by searching on Notion's gallery where the pictures and colors are free to use;
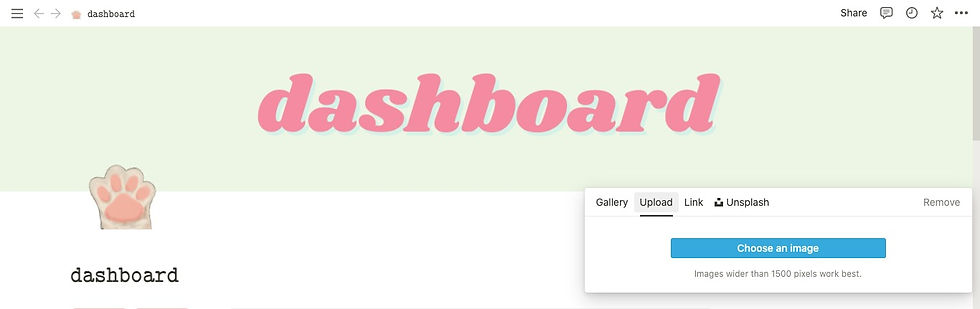
You can also search for the picture on your desktop or a mobile phone;
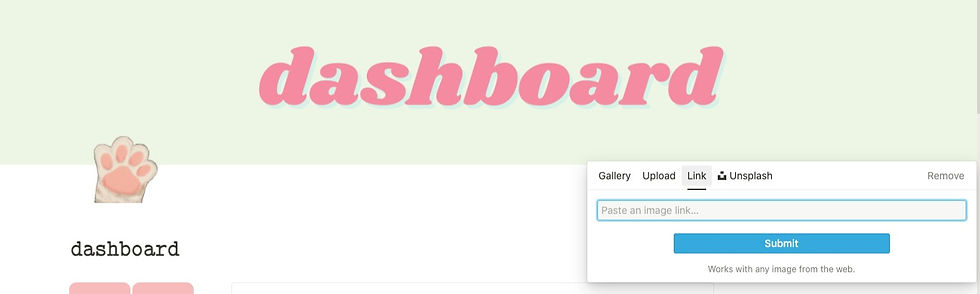
You can search from the web and embed the link here;
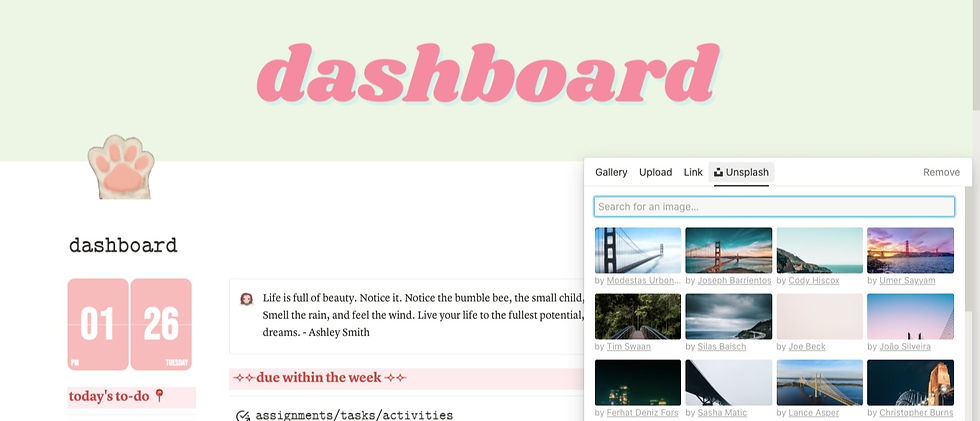
Or like in the Notion's gallery, you can also choose images from the unsplash gallery and it is also free.
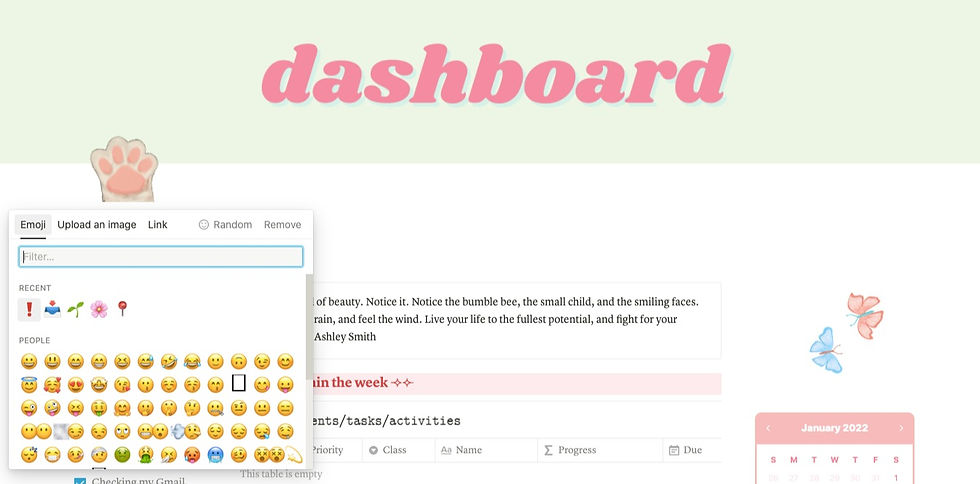
Dashboard's Logo
Next is my logo. For my logo, I search on giphy.com which is perfect for my logo same as where I found that butterfly gif. To change the logo, just click the logo icon, and then you'll see the choices that you can do. Just like when you change the cover photo, you have also the option to upload from your desktop or mobile phone and also to embed a link. But there is also an option where you can choose from the emojis available or pick a random one.
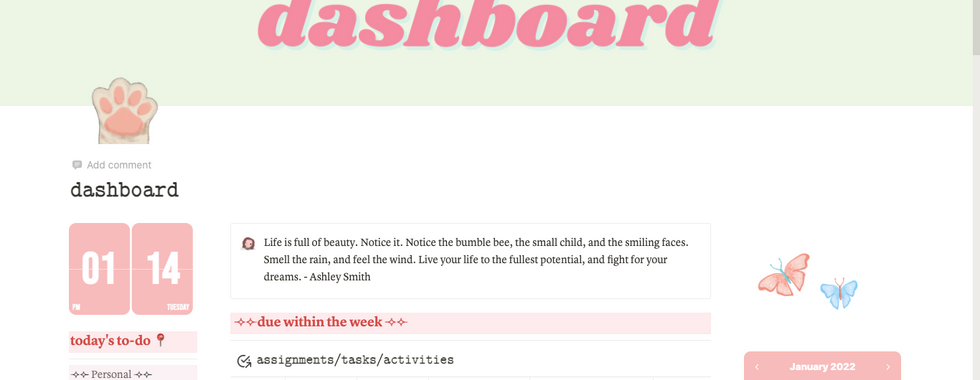
Dashboard's Body
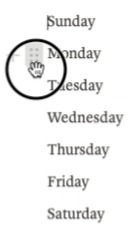
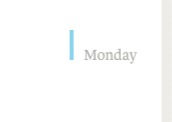
Let's now move on to my dashboard's body, as you can see, I divided it into three so that it makes it more organized. To division, you'll need to do is type a word as many as you want like what you see on image 7, and on the left of it, you will see a plus sign and 6 dots. Using your mouse, left-click and hold it and move it at the side corner (as is shown in image 8) until you see the blue vertical line. Using this, you can divide the text as many as you can (as is shown in image 9).

So let's start with the left corner of my dashboard, as you can see in the picture, I insert a calendar where I customize using the application widgetbox.app, and next to it was my daily todos and navigation of the sub-pages. I also put quick links for my courses. In the middle, I insert a beauty quote that I found on the internet just for me to have self-confidence in myself (kidding). Next to it are the due dates of the task I need to accomplish according to week and month (I just link a database here). For the last column, as I've said a while ago, I just search on giphy.com for a butterfly gif to put here and because you can't see how it moves, also my logo, I put here the link of the exact gif I insert in my Notion.
Butterfly gif: https://media.giphy.com/media/mFjYHowKIQxRoGVSJy/giphy.gif
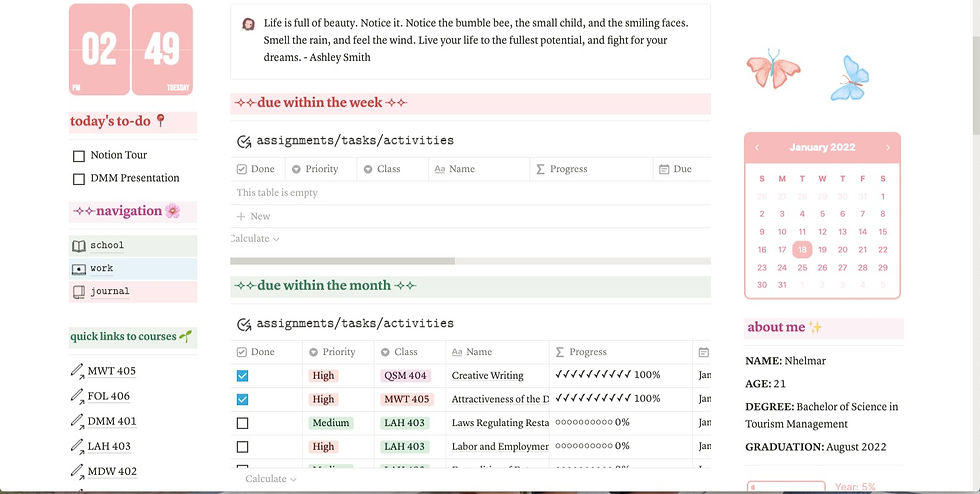
Next to it is a calendar that I made using also the app widgetbox.app. Next to it is a simple introduction about myself for it to be more... me.
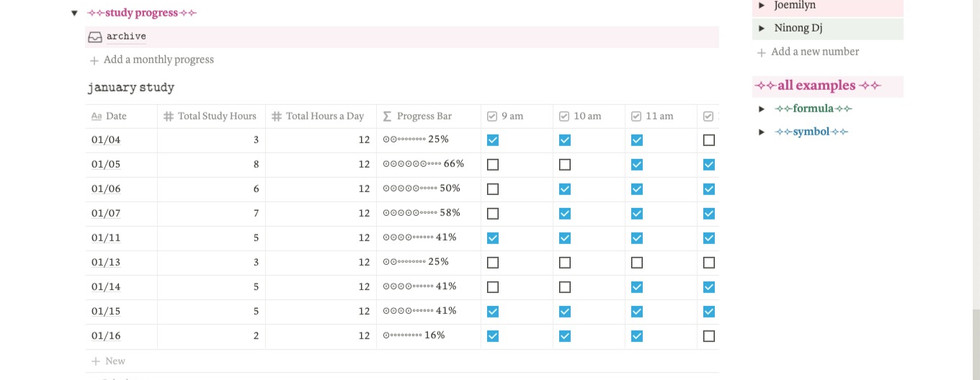
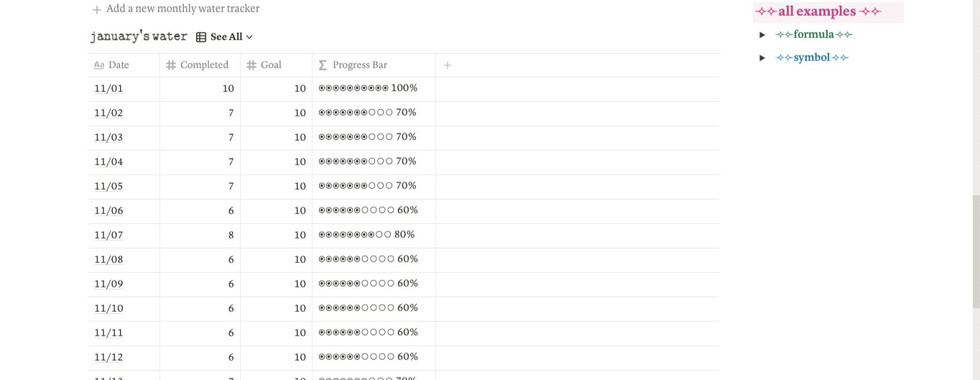
I customize the progress bar on indify.co. Below are the symbols and formulas I currently have:
Formulas: https://tinyurl.com/2p82ju7c Symbols: https://tinyurl.com/2wxd4evx
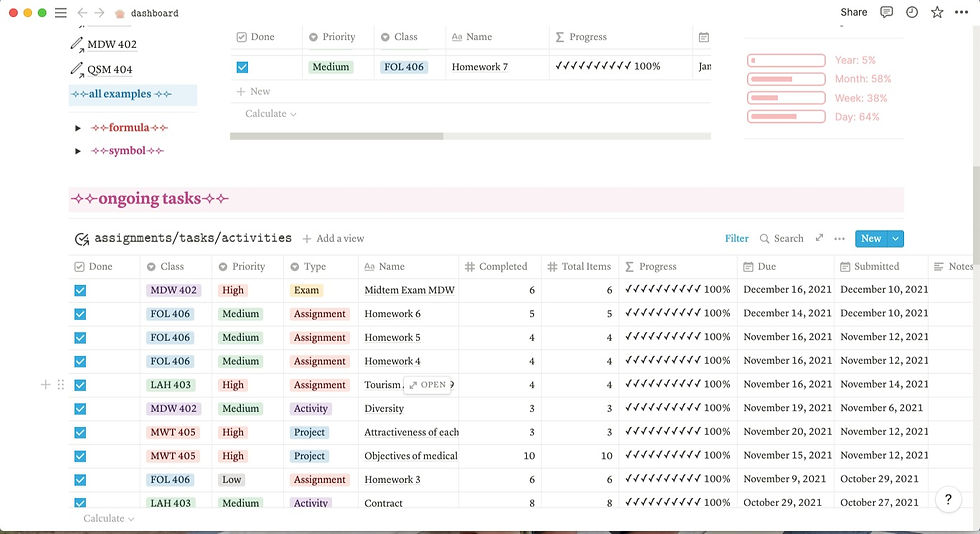
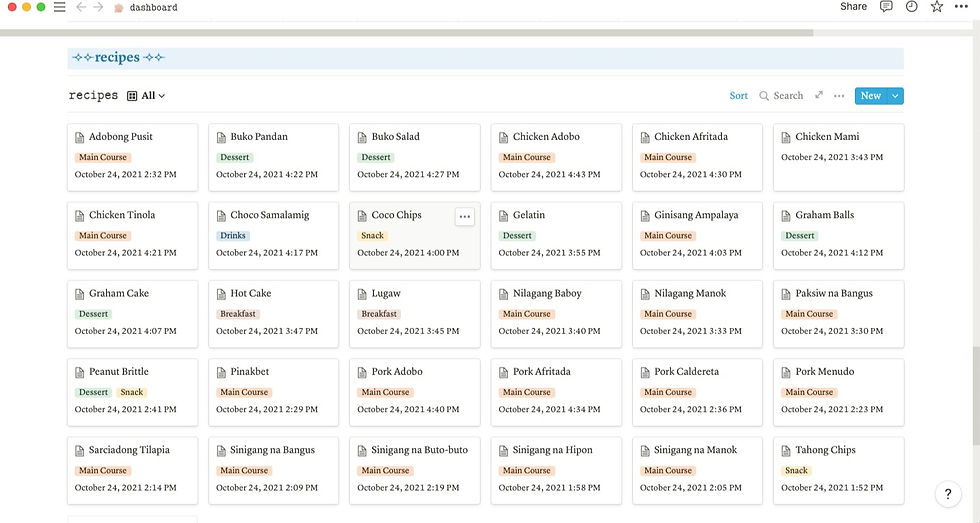
Next is the ongoing task that same as the due dates. I also put some of the recipes I personally know how to make and learning to make.
Before we continue to my three sections, I just want to share with you how to have subpages and others. As you can see on the video below, I click the plus button, and when you click it, you will see how many are the control button you can do. This is what I do to make these elements.
Three Navigations
School


So the first section that I will show you is my school section. Before we continue, all of those logos that you'll see on my sections are I got from notions.vip/icons/. Those icons available there are for free! Going back, I also divide these pages into two.
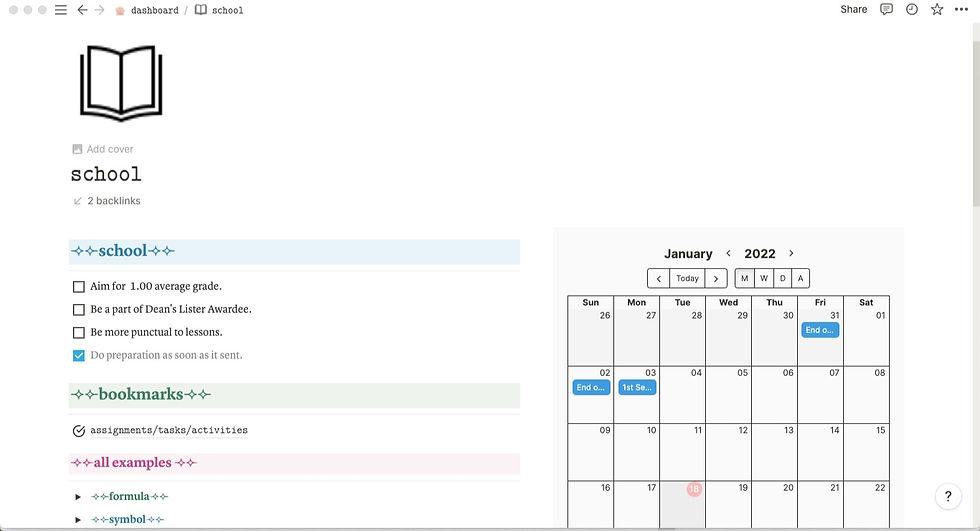
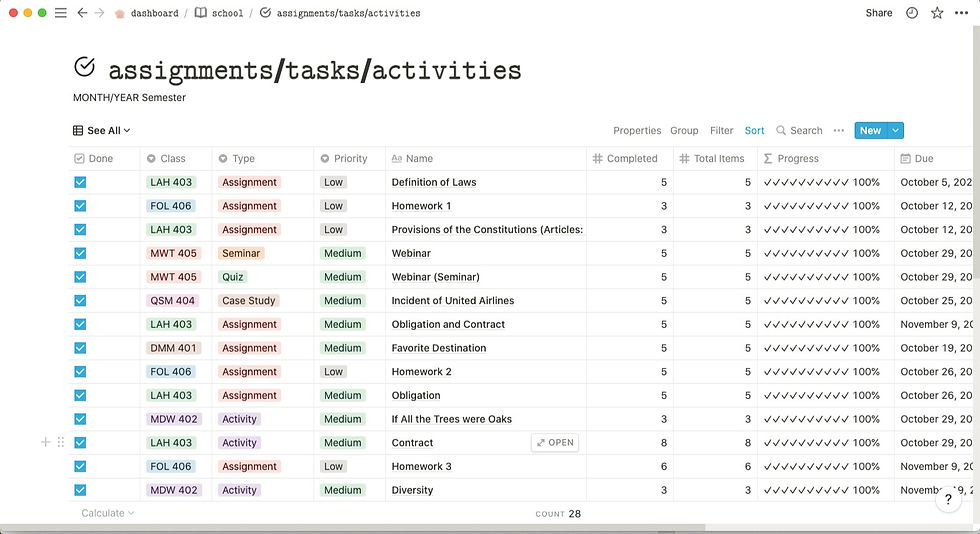
On the left column, you'll see my goals for these sections, and after that is a page where it consists of the database of assignments, tasks, and activities that you saw on my dashboard (as seen on image 2).
For the next column, I insert my google calendar here using indify.co.
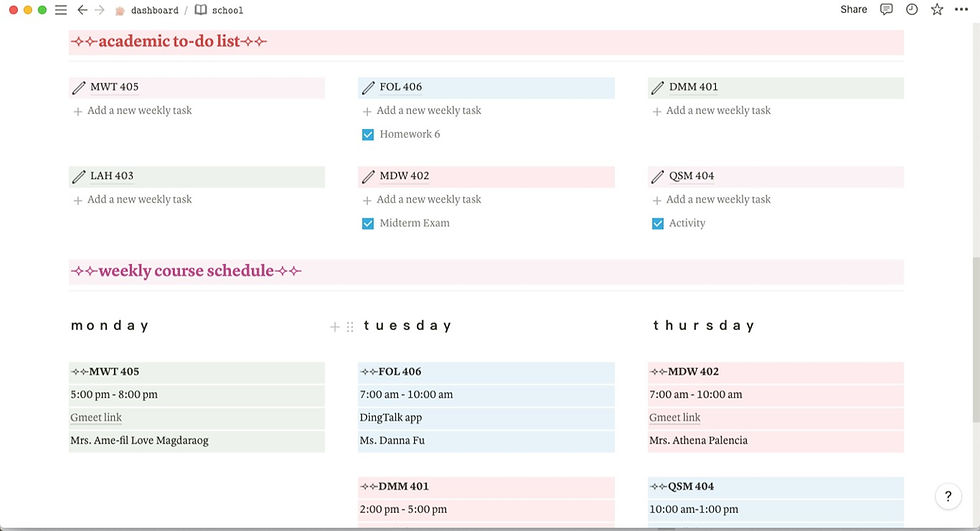
Below these divisions, you'll see my academic to-do list and my weekly course schedule.
Now I will show you what is inside each subject I have but for this blog, I will show you only one since every subject has the same content inside.

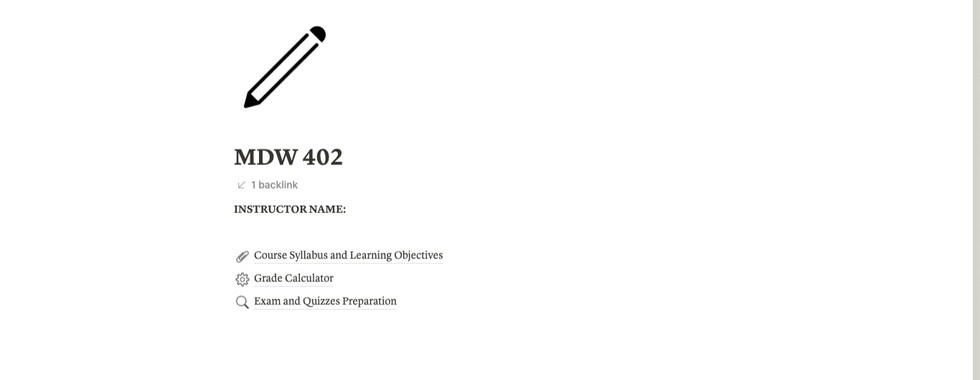

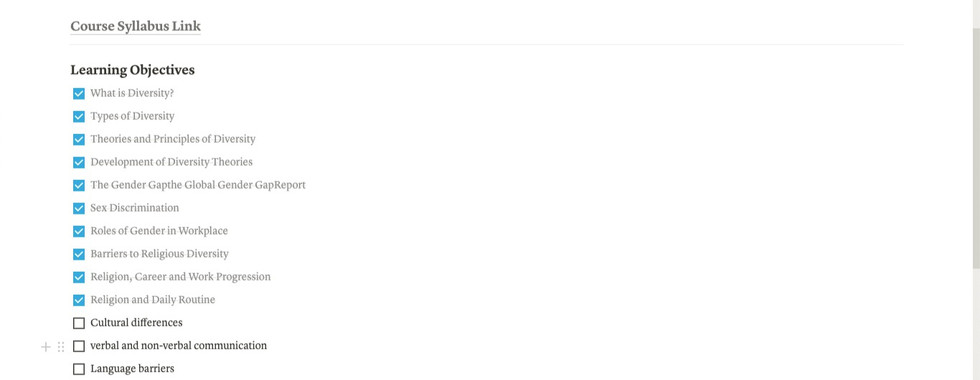


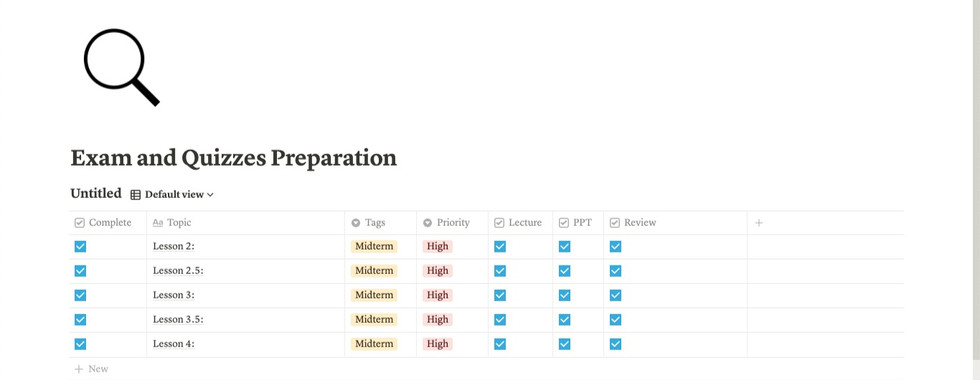
I will now share with you my MDW 402 subject. For my main page of these subjects, you'll see only three subpages and I will show you what is the content of each one. First is my course syllabus and learning objectives where you will see on the next slide of the picture. I put the link of my course syllabus and next to it are the learning objective that I turn into a to-do list. If we discuss that specific objective, I put a checkmark on it. On the next slide, you will see my grade calculator where I honestly didn't open for a while, and the last slide is the page where I prepare my exams and quizzes. Honestly, I didn't open this whole school section for a while.
Work Section
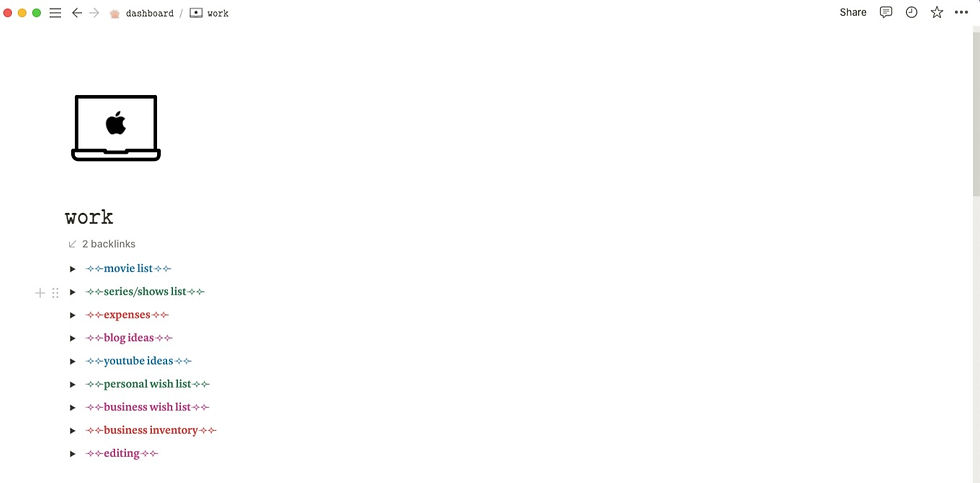
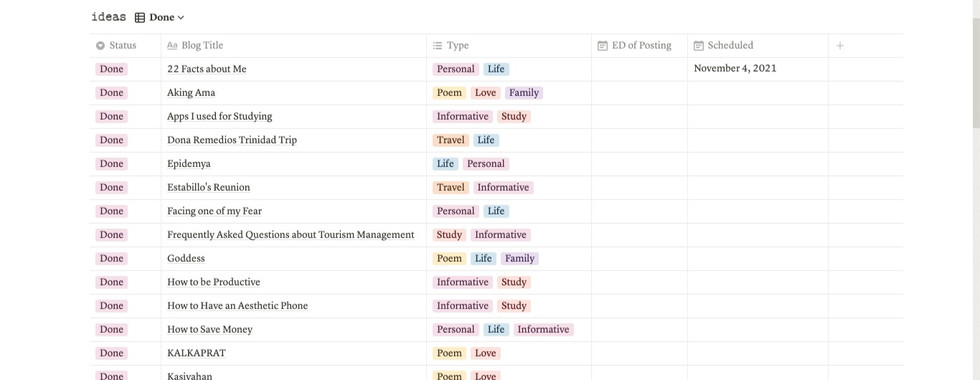
The next section that I will discuss with y'all is my work section where I put movie and series/shows list; expenses; blog and YouTube ideas; personal and business wishlist; business inventory and editing.
For my privacy, I will skip expenses for money purposes; YouTube ideas 'cause everything in there are not published yet; personal wishlist because I just want to talk about it yet. It's a surprise same as to business wishlist and inventory because I didn't start that yet (hoping that I will start it this year); and the editing.

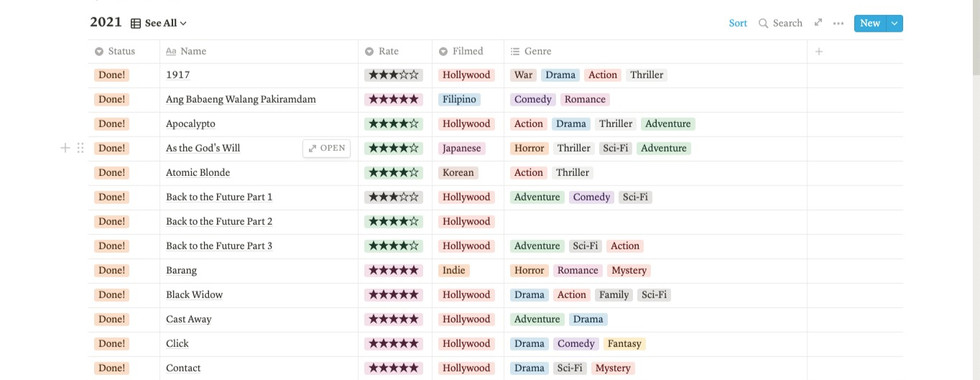

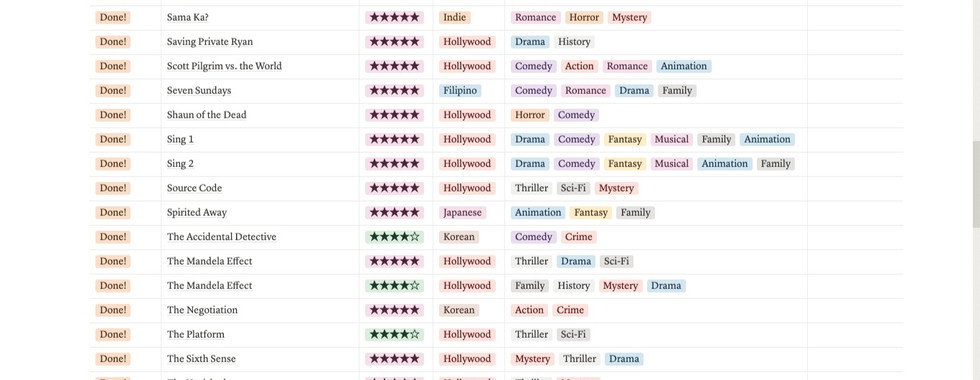


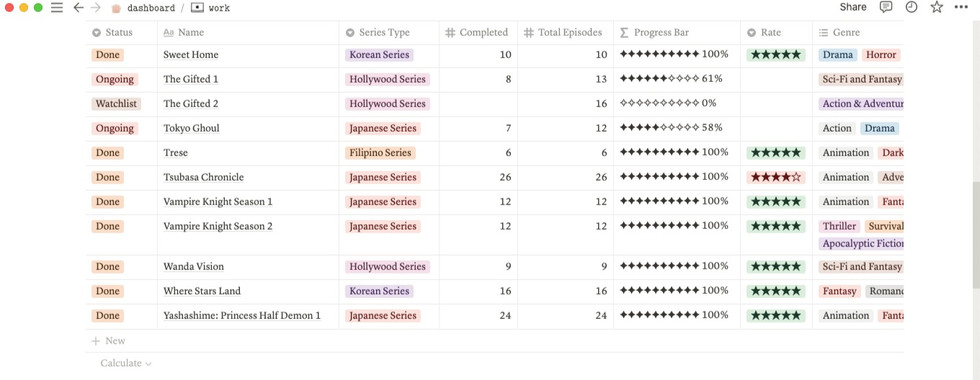
The first that I will talk with you about is my movie list and series/shows list. I just put my list so that if you want to watch some of it that you didn't watch yet, watch it right now. Thank me later.

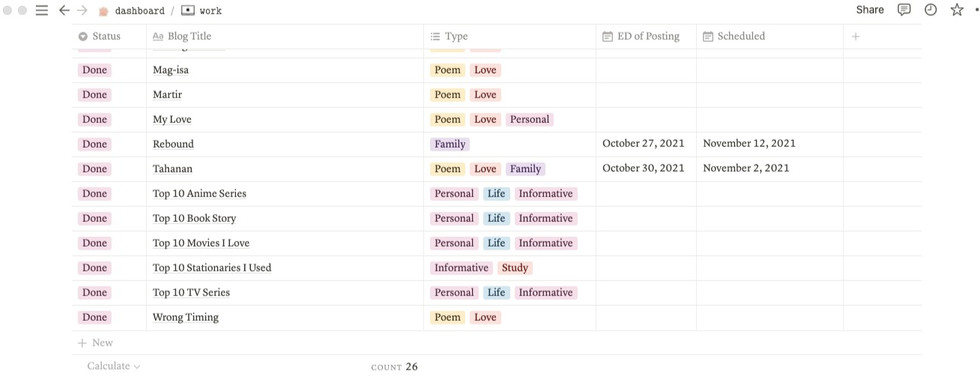
This is my blog list, if you want to read some of it or all of it, just click the thumbnail at the bottom of this blog, thank you in advance!
Journal Section
We are now down to the last section which is the journal section which is the section that I mostly opened to do my digital journaling.

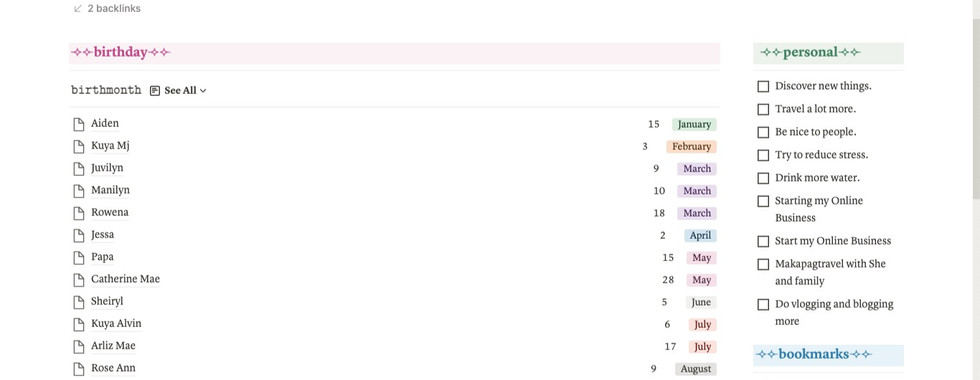

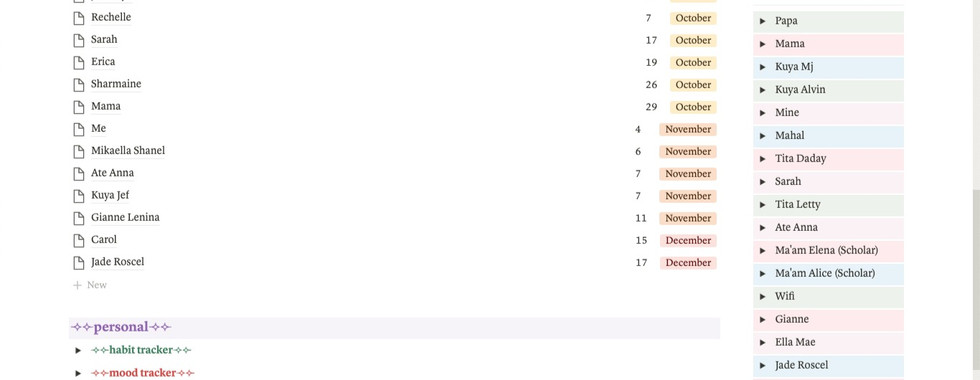
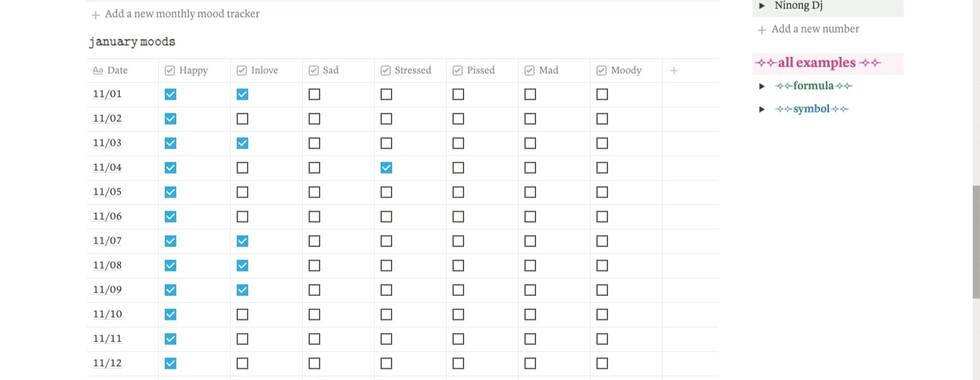
I also divide these pages into two columns where the first one tackles the dates of my friends' and families' birthdays (shoutout to everyone here!). I put this database here because it is so hard for me to remember everything so to put their birthdays here would be easier for me. The next column is about my personal goals that I turn into a to-do list and some bookmarks next to it. In the next slide is my family and friends' phone number that I have and for their privacy, I didn't share it with all of you. Next to it is some of my trackers that I track every day.

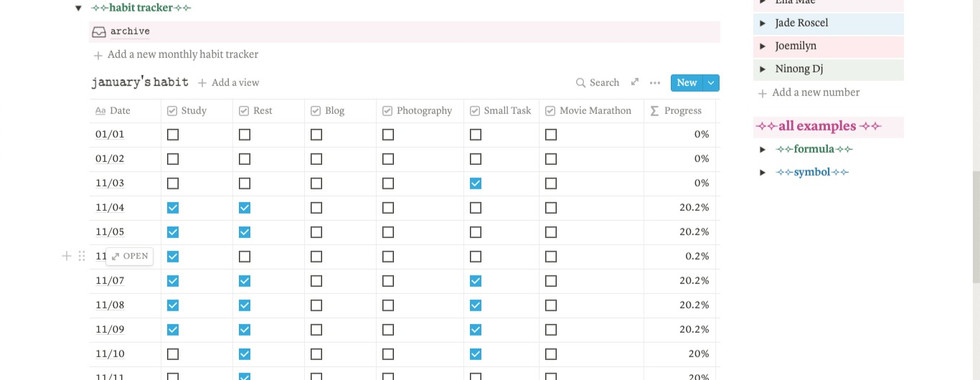


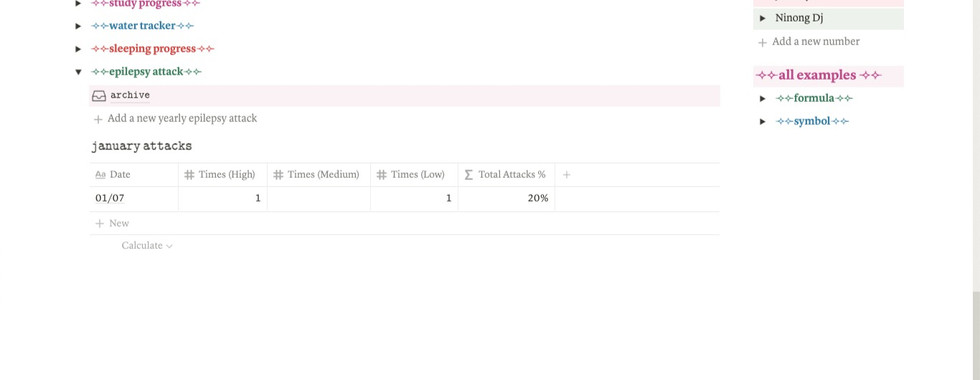
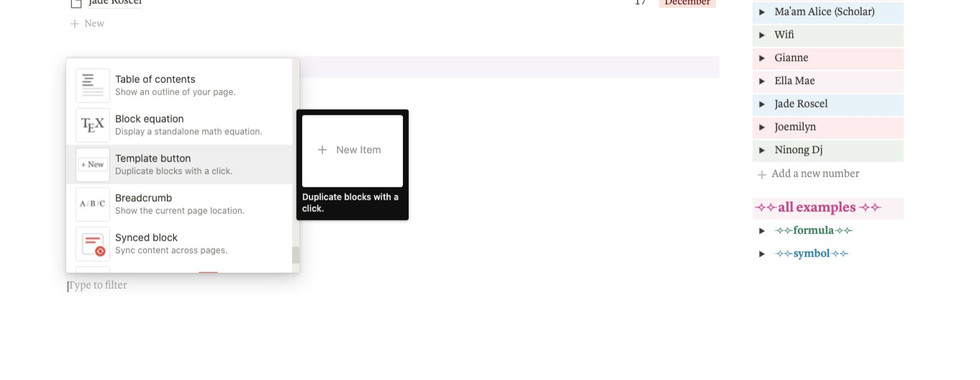
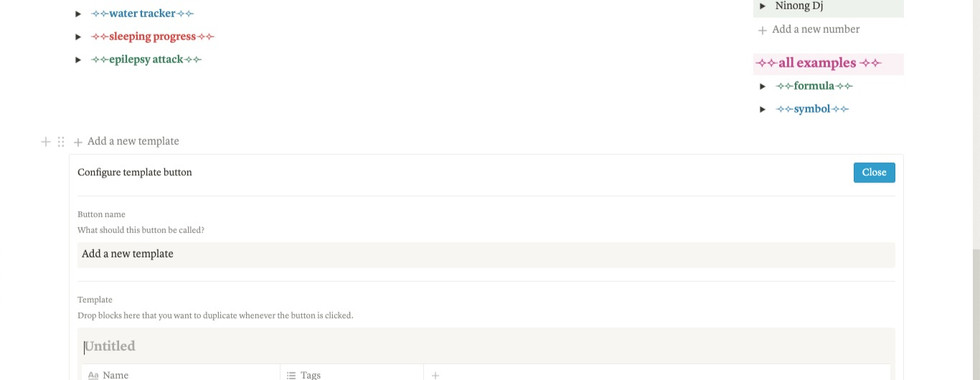
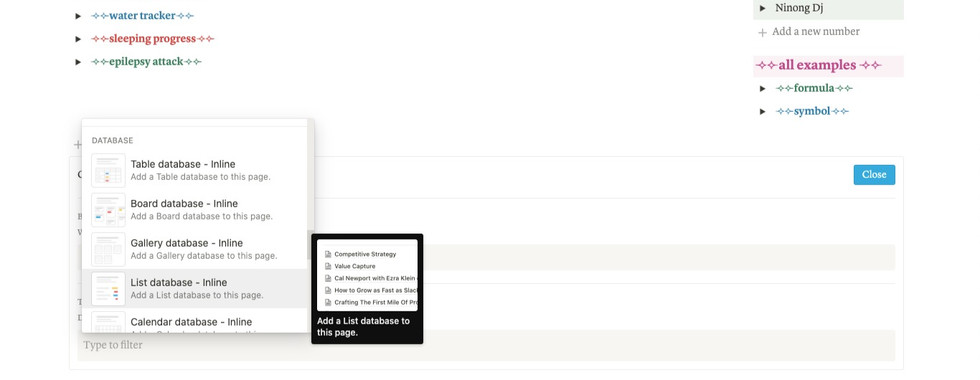
After every month, I drag each monthly database to each of their archives and I just click the monthly template so that I will not repeat every process I made each of the databases. To make a database template, all you need to do is the following:


Comments